A stovetop pressure cooker is the cheapest time machine in a home kitchen, and it is also the one that scares people the most. I understand it. The weight starts rocking, steam climbs toward the ceiling, and everyone in the house looks at the pot like it is about to leave the counter. It is not. What is happening up there is simple physics doing exactly what it was built to do.
I cook dinner for five people almost every night in Columbus, Ohio, and a stovetop pressure cooker is the reason a pot of dried beans is a weeknight food instead of a weekend project. Chili in the time it takes to preheat an oven. Pulled pork that shreds under a fork. Stock that tastes like it simmered all day because, in pressure terms, it did.
This is the sequence I use, in order, every single time. No app, no preset menu, no guessing. Follow it once and you will stop treating the pot like a hazard and start treating it like the tool it is.
Why you should trust me
I have owned 11 pressure cookers in 15 years. The first was a rattling stovetop Presto my grandma handed down, the kind that taught me pressure cooking is patience with a timer. I spent years on a restaurant line before that, where I learned that a good sear makes everything else taste like a restaurant, and that nobody cares how clever your equipment is if the food lands cold.
These days I keep a meal-prep spreadsheet with more than 60 recipes and a cook-time log for each one. My rule for recommending anything is 10 real dinners cooked in it. My current project is cooking 30 weeknight dinners across seven cookers, one chili, one pulled pork, and one soup per machine, with a cleanup timer running the whole way.
I am not a gadget reviewer. I am the person standing at the stove at 6:40 p.m. with five hungry people behind me, and every claim in this article comes from a dinner my family actually ate.
How I picked and how I tested
For a how-to like this, the testing is the method itself. I ran the same three dinners, a beef and bean chili, a pork shoulder, and a chicken and rice soup, in every cooker I own, and logged three things: how long it took to reach pressure, how steady it held, and how many extra pans I dirtied getting there.
On the stovetop side, the questions are simple. Does the weight settle into a steady rock instead of a scream? Does the gasket still seal after a year, and can I buy a replacement without buying a whole new pot? Does the base scorch when I brown meat in it?
That last answer is why a stovetop cooker still earns counter space here. A stainless pot on a real burner gets hotter than any countertop electric element, and that heat is what gives you an actual sear before the lid ever goes on. If your cooker cannot sear, it is a stew maker with extra steps.
What you need before the first cook
A stovetop cooker is a pot, a lid, a gasket, a vent tube, and a weight. That is the entire machine. There is no control board to fail and no firmware to update, which is exactly why these pots outlive the electronics.
You need two things to start: a cooker sized to your household, and a working gasket.
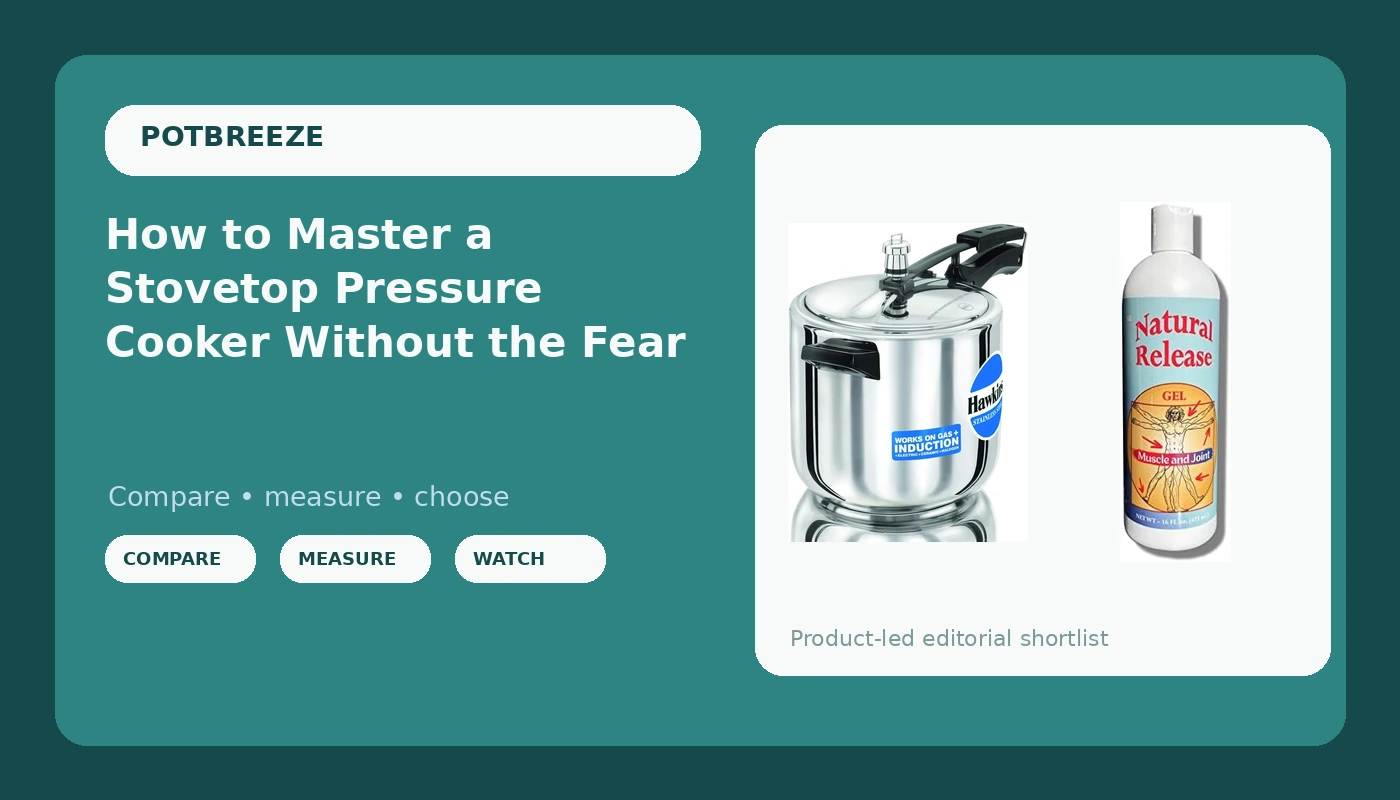
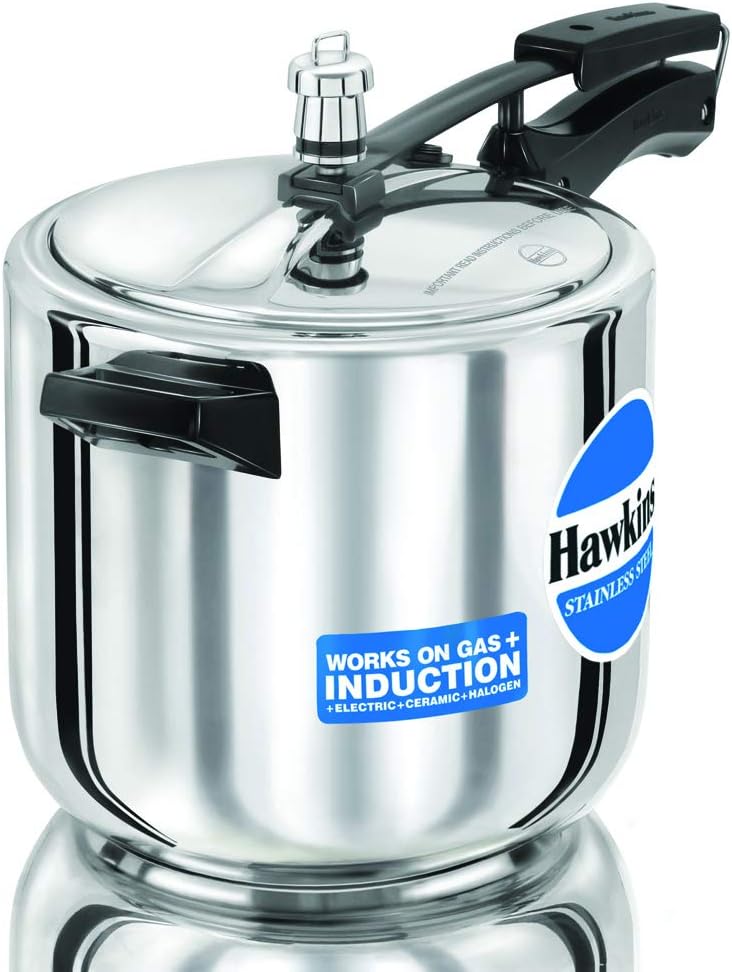
The cooker: Hawkins 6 Litre Inner Lid Pressure Cooker, Stainless Steel Cooker, Induction Cooker, Silver (Hss60), 6 Liter
 Visit on Amazon →
Check current Amazon price. The Hawkins 6 Litre is the stovetop cooker I hand to people who are nervous, because the inner lid design keeps the assembly low and centered instead of cantilevered off the side of the pot. You seat the lid down inside the rim, the weight rides on the vent stem, and the pot builds pressure the old way: heat, steam, and a weight that rocks when it is ready.
Six litres is the right size for a family of five. It holds a whole chicken, a pot of beans that feeds everyone twice, or a batch of chili with leftovers for lunch. The body is stainless steel and it is induction compatible, so it works on gas, electric coil, or an induction top without a special plate.
The gasket is the part that decides whether this pot is a tool or a disposable. Buy a spare when you buy the cooker. The sealing ring is the silicone gasket that holds pressure and absorbs odors, and the honest rule is to replace it yearly, or the moment it smells like last month's curry no matter how hard you wash it.
Flaws but not dealbreakers: It is a stovetop cooker, so you are the timer. There is no keep-warm holding dinner at temperature while you finish the salad, and no sauté preset telling you the pan is ready. You learn to listen and look instead, which takes about three dinners.
Anyone feeding four to six people who wants one pot that will still work in 20 years should start here.
The recovery pick: Four Oaks Farm Ventures, Natural Release Muscle & Joint Gel for Humans - Relief for Sore Back, Knees, HIPS, Muscle Stress, Night Cramps, Aches, Strains, Discomfort - Fast Acting, Menthol Free (16 oz)
 Visit on Amazon →
Check current Amazon price. This is not a cooking product and I will not pretend it is. It earns a place here because of what a stovetop cooker asks of your body. You stand at the range while pressure builds. You lift a full six litre pot of chili off the burner and carry it to the sink. Do that three nights a week for a year and your lower back will file a complaint.
The name is a pressure-cooking joke that writes itself: natural release. Letting pressure drop on its own is the difference between tender pulled pork and shoe leather, and letting your back come down on its own after a long day is the same idea. I keep the 16 ounce tub on the counter beside the potholders and use it on my knees and lower back after a big batch night. It is menthol free, which matters more in a kitchen than people expect. Nothing kills the smell of chicken soup like a cloud of menthol.
Flaws but not dealbreakers: It is a topical gel, not a substitute for a lifting habit. Carry a hot pot with two hands and clear the path first. And if joint pain sticks around for weeks, that is a doctor conversation, not a gel conversation.
Anyone who spends an hour on their feet at the stove and pays for it the next morning will get real use out of this.
The actual sequence, start to finish
This works on any stovetop pressure cooker with a weight and a vent tube. Read it once before you cook, then keep it near the stove for the first week.
Step one: inspect the lid before anything else. Take the weight off, look through the vent tube, and hold it up to the light. If you cannot see through it, clear it with a skewer. A blocked vent is the only genuinely dangerous part of this process, and checking takes 20 seconds. Run a finger around the gasket. If it is cracked, stiff, or stretched, replace it before you cook.
Step two: load the pot and respect the fill line. Add your food, then your liquid. The liquid is what makes steam, so the pot needs enough of it to keep producing steam for the whole cook, and the food plus liquid should never come past about two-thirds of the way up the inside of the pot. Anything that foams, beans, pasta, grains, stays closer to half. Leave the top third for steam to do its work.
Step three: sear before you seal, if there is searing to do. Brown the meat in the open pot first, in batches, and do not crowd it. Stainless on a live burner gets hot enough to build a crust, and that crust is what makes the finished dish taste like more than boiled meat. Deglaze with a splash of stock and scrape the base clean. Those browned bits are flavor, and they will scorch if you leave them stuck to the bottom.
Step four: close the lid and bring the heat up. Seat the lid, set the weight, and turn the burner to high. You are waiting for a rhythm: steam lifting the weight and letting it settle back down, over and over, a tick rather than a scream. A weight that never moves means the heat is too low. A weight that rattles nonstop means the heat is too high.
Step five: drop the heat and start your clock. The moment the weight settles into that steady rock, turn the burner down to medium low and start timing. The goal is the slowest rock that still holds pressure. That setting cooks food instead of scorching the base of the pot.
Step six: choose your release on purpose. Turn the heat off. For meat, beans, and anything you want falling apart, walk away and let the pressure come down on its own. Natural release is where tough cuts turn tender, and rushing it is the most common way a good pot of chili turns into chewy beef. For vegetables and fish, release the pressure right away so carryover cooking stops.
Step seven: open away from your face. Once the weight drops and no steam is pushing out, remove the weight, tilt the lid away from you, and let the last of the steam escape into the room instead of your face. The food inside is still at a boil and it will spit.
Step eight: clean the pot, then the lid, then the gasket. Wash the gasket separately in warm soapy water and let it air dry fully before it goes back in the lid. This is the maintenance step people skip, and it is the reason their cooker starts smelling like every meal it has ever cooked.
If you also own an electric multi-cooker, the same sequence applies with buttons instead of a burner. The release decision changes the food the most, and it is the same decision on every machine.
Three mistakes that ruin the first cook
Overfilling. A pot packed to the rim has nowhere for steam to go, and starchy liquid will find the vent. Keep it under two-thirds, and closer to half for anything that foams.
Quick-releasing everything. A quick release is a tool, not a default. Use it for vegetables and fish. Use a natural release for meat, beans, and grains, or you will wonder why your pork is tough.
Never replacing the gasket. A worn sealing ring leaks pressure slowly, which means longer cooks, drier food, and a pot that smells like a spice cabinet. Buy the spare on day one.
When I reach for the electric instead
I am not going to pretend a stovetop cooker wins every night. An electric multi-cooker has a timer, a keep-warm, and a sauté mode you can walk away from, and on a night when I am driving kids to practice, that matters more than sear quality.
The stovetop wins on three things: speed to pressure, heat on the base, and the fact that there is nothing electronic to die. No board, no display, no firmware. If the power goes out, a stovetop cooker and a gas burner still make dinner.
Most serious home cooks end up with both. If you are buying one first and you cook for a crowd, start with the pot that sears.
What this all costs
The math is not about the sticker. It is about how many dinners the pot produces. A stovetop cooker is a one-time purchase, a gasket is a yearly one, and the gel is a consumable that lasts months on a counter.
Compare that to what five people cost you at a drive-through on a Tuesday, and a pot of chili pays for the cooker in a few weeks of cooking. Check current Amazon price before you buy, then stop shopping and start cooking.
That is the job. The pot was built to do this. Let it.