Most kitchens have a stovetop pressure cooker in the back of a cabinet, behind the waffle iron, because somebody's grandmother told a story about a lid going through the ceiling. I understand the fear. I also know that a stovetop pressure cooker is the fastest way to get a pot of beans, a pork shoulder, or chicken and rice from raw to done on a Tuesday, and that most of the fear belongs to a generation of cookers that rattled, hissed, and gave you nothing to look at while they worked.
I cook dinner for five people almost every night in Columbus, Ohio. Fifteen years and 11 pressure cookers later, I know where the real risks live, and it is not the lid. It is the sealing ring, the fill line, and the burner setting.
This is the workflow I run on a weeknight, start to finish. It takes about 40 minutes from the fridge to the table, and roughly 20 of those minutes are hands-off.
Why you should trust me
I spent four years on a restaurant line before I traded the ticket rail for a family of five and a meal-prep spreadsheet. In that time I have owned 11 pressure cookers, from a rattling stovetop model my grandma handed down to the programmable electric ones that beep at you from across the kitchen. I keep a spreadsheet with more than 60 recipes and a cook-time log for every one of them, because pressure cooking rewards people who write things down.
Three rules I hold to when I recommend anything. I do not recommend a cooker I have not cooked at least 10 real dinners in. I do not call a recipe one-pot without counting the dirty pans. And I do not call a cooker worth owning until I have checked whether the sealing ring can be bought separately. If the ring is not replaceable, the cooker is disposable, and you are renting it.
How I picked and how I tested
Every cooker gets the same four questions before it earns counter space:
- Does the browning step actually get hot enough to sear meat without scorching the bottom of the pot?
- Does it come up to pressure quickly and then hold steady at a low simmer?
- Can I buy a replacement sealing ring, listed as a part rather than as a mystery?
- Would it survive 30 weeknight dinners in a house with five people and one dishwasher?
This year I have been running 30 weeknight dinners across seven cookers, one chili, one pulled pork, and one soup per machine, with a cleanup timer running the whole time. That is the test that separates a cooker that looks good in a photo from a cooker that gets used on a Wednesday.
The gear list below is short on purpose. One pot does the main dish. One machine holds the side.
The pot you'll need before you start
You cannot learn pressure cooking on a cooker with a stiff ring and an indicator you cannot read. Get the pot right first, then worry about the recipe.
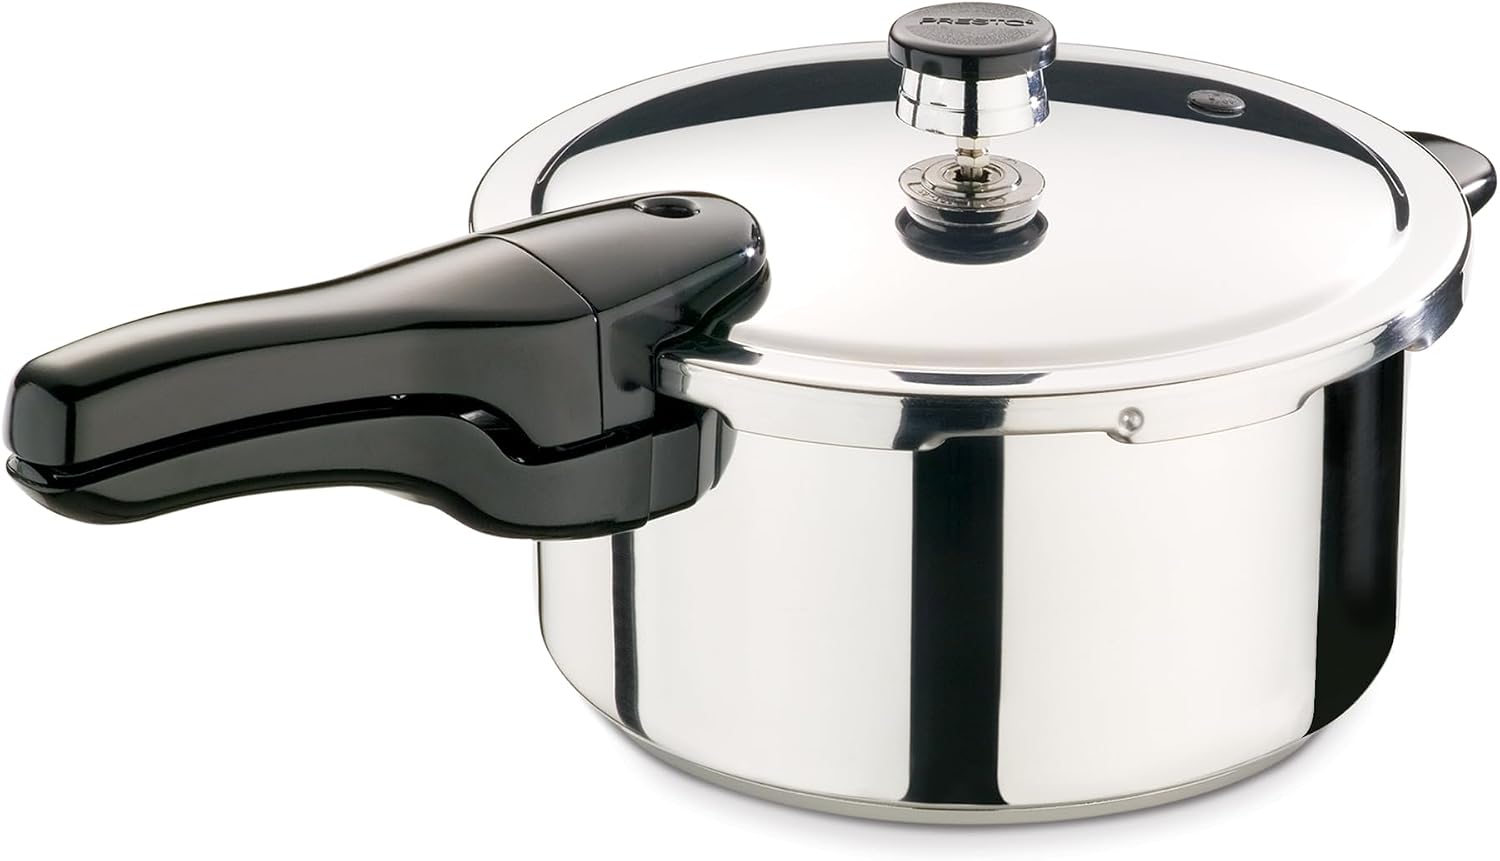
The stovetop pick: Presto 01341 4-Quart Stainless Steel Pressure Cooker
 Visit on Amazon →
This is the cooker I hand to friends who ask where to start, and it is the one I still keep in rotation for beans and stock. Four quarts is the honest size for a family of five: enough for a whole chicken or a pound and a half of dried beans, not so big that a small batch of soup disappears into the bottom of the pot. The body is stainless steel, which matters more than people think. You can brown in it on the stove, and it will not hold onto last night's curry the way bare aluminum does.
Because it is a stovetop cooker, you control the heat with your own hand. You can push it hard to come up to pressure and drop it to the lowest flame to hold it there, which is the biggest advantage a stovetop pot has over an electric one. There are no electronics to fail and no firmware to update.
The trade-offs are real. You have to stay in the kitchen while it comes to pressure. You have to learn what your cooker sounds like when it is at pressure and what it sounds like when it is not. And the sealing ring is a wear item, so treat it like one.
Flaws but not dealbreakers: the handles get hot over a gas flame, so keep a towel nearby. It ships without much in the way of accessories, so plan on a trivet and a spare ring. And it is manual, which means no timer, no preset, no app. That is a feature if you want to feel the pot, and a drawback if you do not.
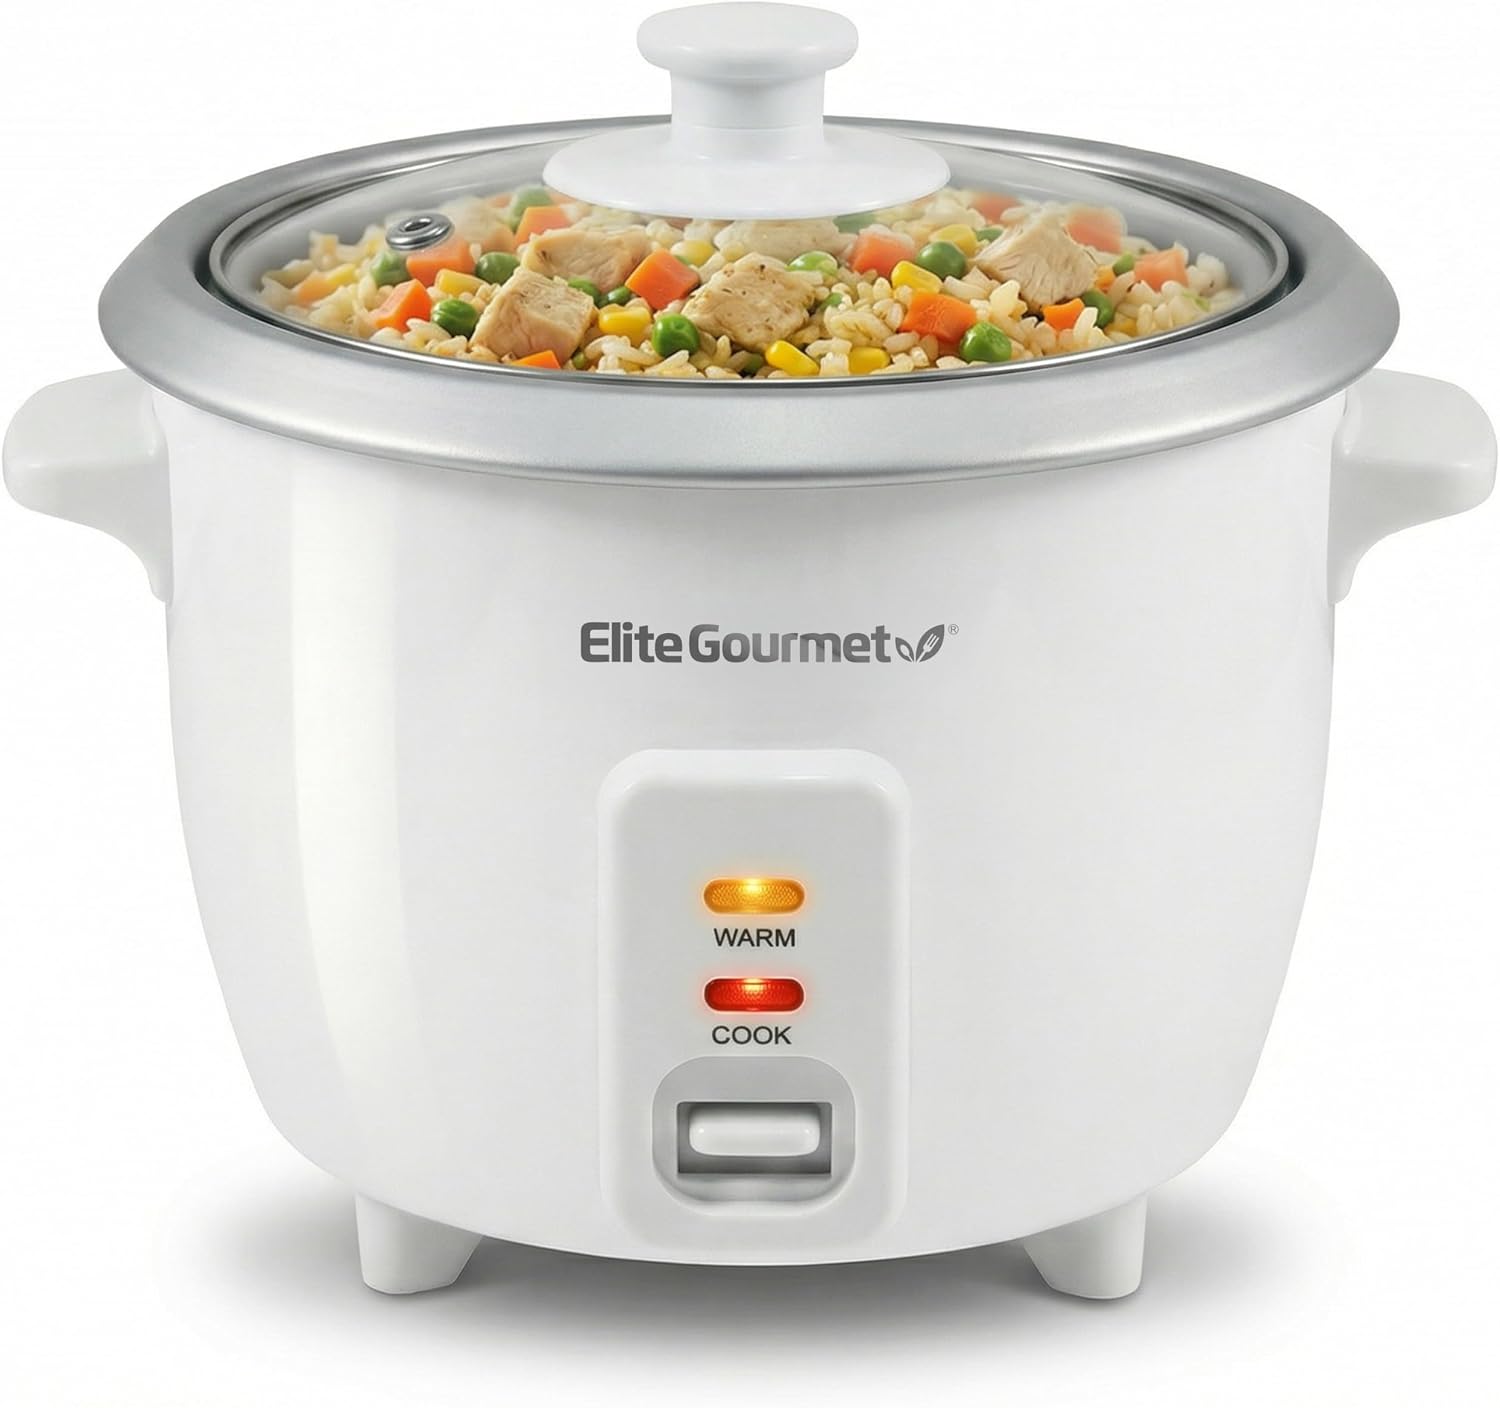
The countertop side: Elite Gourmet ERC-003X Rice Cooker, Keep Warm, White, 6 Cups Cooked
 Visit on Amazon →
Here is the part that makes pressure cooking actually fit into a weeknight: the side dish runs itself. While the pressure cooker does the main, this rice cooker handles the rice, and the keep-warm function means the rice is ready when the pork is, not 20 minutes before or after.
Six cups cooked is the right size for five people plus one lunch the next day. It is a one-job appliance, and I mean that as a compliment. A cheap cooker that does one thing every single night beats a machine with twelve buttons that does all of them at 80 percent. There is no learning curve here: rice, water, press the lever, walk away.
Flaws but not dealbreakers: it is white plastic and it looks like it, so it lives on the counter rather than in a photo shoot. The keep-warm will dry out rice if you leave it sitting for hours. And six cups cooked is six cups, so if you are feeding a crowd, cook two batches or move up a size.
Anyone who wants the side handled while the main dish takes care of itself will get their money's worth here.
The actual pressure cooking workflow
One timing note before you start: the rice goes on first. It takes longer to come to a boil than it takes your cooker to hit pressure, and the keep-warm setting means it will wait for you.
Step one: Check the ring, the vent, and the lock before you cook anything. Run your thumb around the sealing ring. It should be soft, flexible, and free of cracks. If it is stiff or smells like last month's chili, replace it. Check that the vent pipe is clear and the overpressure plug is seated, then check that the lid locks and unlocks smoothly while the pot is empty and cold. Two minutes of this beats finding out at pressure.
Step two: Brown first, in the open pot. Put the pot on the burner, no lid, and sear your meat in a little oil. A pressure cooker does not brown anything. It only cooks what you put in it, and whatever flavor you skip here you cannot add back later. Count your dirty pans as you go. If you brown in the same pot you pressure cook in, the answer is one.
Step three: Build the base and deglaze. Add onions, garlic, and spices and let them soften in the fat. Then pour in a splash of stock, wine, or water and scrape the browned bits off the bottom with a wooden spoon. Those bits are flavor, and they are also the first thing to scorch if you leave them stuck to the base.
Step four: Add liquid and respect the fill line. Pressure cooking needs liquid to make steam, and the fill line is not a suggestion. Never fill past two-thirds full. For anything that foams, beans, grains, pasta, stay at half. Too little liquid and you scorch; too much and you have made soup with extra steps. For a four-quart load, a cup to a cup and a half of liquid is usually the range, more for a long cook.
Step five: Lock the lid and bring it up over high heat. Line up the handles, lock the lid, and turn the burner to high. This is the one part of the process where you do not walk away. Wait for the indicator that tells you pressure has arrived.
Step six: Drop the heat the second it hits pressure, then start your timer. This is where most people ruin dinner. High heat does not cook food faster once the pot is at pressure, because the internal temperature is already fixed. More flame just boils off your liquid and scorches the bottom. Turn it down to the lowest setting that keeps the indicator moving, and start timing from that moment, not from when you turned on the burner.
Step seven: Log the time. Write it down. Times do not transfer perfectly between cookers, pot sizes, and altitudes, so your 12 minutes for beans is your number, not mine. A cook-time log turns pressure cooking from a gamble into a routine.
Step eight: Choose natural release or quick release, and choose on purpose. Natural release means taking the pot off the heat and letting the pressure fall on its own. The food keeps cooking gently the whole time, which is what makes pulled pork tender instead of stringy and keeps beans from splitting. Quick release means opening the valve and letting steam out fast. Use it for vegetables, seafood, and anything you want to stop cooking right now. Never quick release a pot that is more than half full of liquid, or you will send a geyser of starchy water through the valve and onto your ceiling.
Step nine: Rest, then open the lid away from you. Let the pot sit a minute after the pressure is gone, then open the lid so the remaining steam points away from your face. Let the meat rest while you fluff the rice.
Where beginners actually go wrong
Too little liquid. The pot never reaches pressure, the food sits there steaming, and then the bottom scorches. If your cooker is not building pressure after several minutes on high, take it off the heat, let it cool, open it, and add liquid.
Overfilling. Foamy foods expand and can push starch into the vent. Half full is the rule for beans and grains, not two-thirds.
Treating high heat as fast heat. Once the pot is at pressure, the temperature is set. A roaring flame only costs you liquid and cleanup.
Forgetting the come-to-pressure time. A recipe that says 15 minutes is really 15 minutes plus 10 to 12 minutes of heating and a natural release that can run another 15. Plan the whole window, not the printed number.
Adding a lot of acid at the start. Tomatoes and vinegar early in the cook can keep beans and tough cuts firm longer than you expect. If you want them to give up sooner, add the acid late.
Not replacing the ring. A ring that no longer seals will have you chasing pressure for 20 minutes and blaming the recipe.
Storing the lid locked down. Store the lid off or upside down so the ring is not compressed for weeks at a time.
What didn't make this list
Electric programmable cookers are not on this list, and I want to be fair about why. They are convenient, they hold a timer, and some of them brown well enough to get a chicken thigh going. But in my experience the browning function rarely gets as hot as a burner, the sealed electronics are not something you repair, and their sealing rings are wear items too. If you want set-and-forget and you accept the trade, that is a real choice. It is just a different workflow from this one.
Combination machines that pressure cook and air fry are doing two jobs at once, and they tend to do both at about 80 percent. Fine if you have one outlet and no counter space. Not fine if you want the best version of either job.
Big aluminum stovetop canners belong to a different conversation, the one about preserving. A four-quart stainless cooker is the size that actually gets used on a Tuesday.
What this all costs
The gear here is two pieces, and only one of them is a real purchase. A four-quart stainless stovetop cooker is a buy-once item: no motor, no screen, no firmware. The recurring cost is the sealing ring, and you should budget for one a year whether you think you need it or not, because a ring fails on a Tuesday, not on a weekend when you have time to shop.
The rice cooker is the cheap half of the setup and the half that saves the most weeknights, because it removes the side dish from your mental load. Check current Amazon price on both before you decide, since they move.
Run the math your own way: one takeout order for five people against one pot of beans and a pot of rice. Then divide the gear by the number of weeknights in a year. That is the number that matters, not the sticker.
That is the job. Get the pot, learn the ring, drop the heat when the pressure arrives, and let the rice cooker hold the side. Do it five times and the pressure cooker stops being the scary thing in the back of the cabinet.