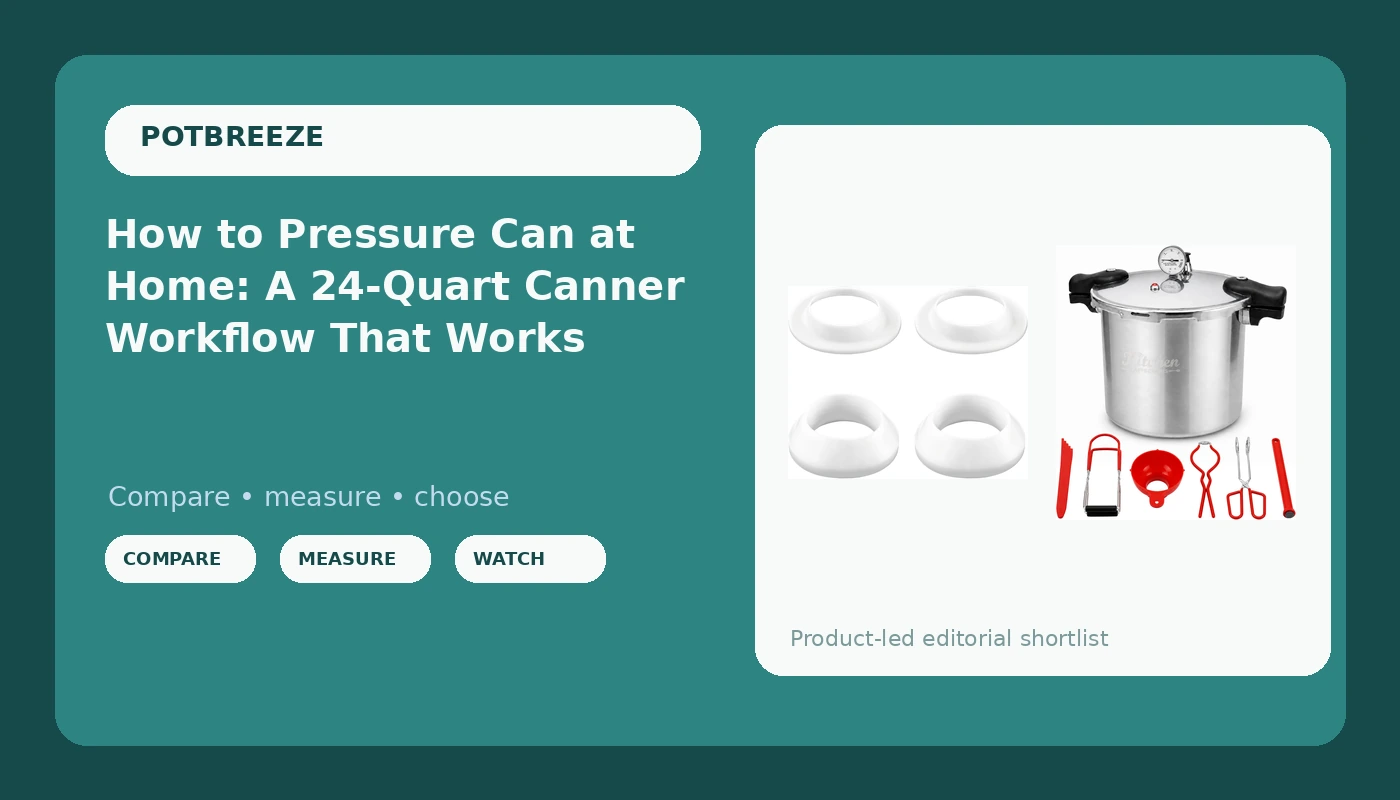
Pressure canning at home is a timing problem wrapped around a hardware problem. The timing is the easy half: a tested recipe, a jar size, your altitude, and a clock. The hardware is where people get stuck, because a pressure canner and a pressure cooker get sold in the same aisle with nearly the same word on the box, and only one of them is safe for jars.
I have cooked under pressure for 15 years, starting with a rattling stovetop cooker my grandma handed down, and I have replaced enough sealing rings to know that gaskets, gauges, and vent ports decide whether a batch is shelf stable or a science experiment. This is the workflow I would hand a friend who just carried a 24-quart canner home and wants to put up tomatoes this weekend, plus the one small part that saves your kitchen floor when the sink is working as hard as the stove.
Why you should trust me
I am a family cook in Columbus, Ohio, feeding five people dinner most nights, and I spent years on a restaurant line before that. I have owned 11 pressure cookers in 15 years, from a stovetop Presto that scared my family to the electric countertop machines, and I keep a meal-prep spreadsheet with cook times for more than 60 recipes because I got tired of guessing when dinner would land.
That background is why this guide is short on gadget talk and long on procedure. On a line, the food that fails is the food nobody timed. Under pressure, the same rule applies with higher stakes, because what you are timing is not just texture. It is whether the jar is safe to eat in February.
What I check before I recommend pressure gear
Four questions decide whether a piece of pressure equipment belongs in a home kitchen:
- Can it hold steady pressure for the full processing time, or does the needle wander every time the furnace kicks on?
- Can you buy the parts that wear out, meaning the gasket, the overpressure plug, and the gauge?
- Does it fit the stove you actually own, including an induction top?
- Is the capacity honest? A canner that claims to hold more jars than it does is a canner that makes you run two batches on a Sunday night.
I have not run a full season on every canner on the market, so this guide does not pretend to rank them all. It sticks to one kit that covers the whole job and one small part that fixes a problem canning day creates.
The canner and the small part that saves the kitchen
Everything below is chosen for one job: getting jars from raw pack to sealed lid without a pressure swing or a flooded cabinet floor.
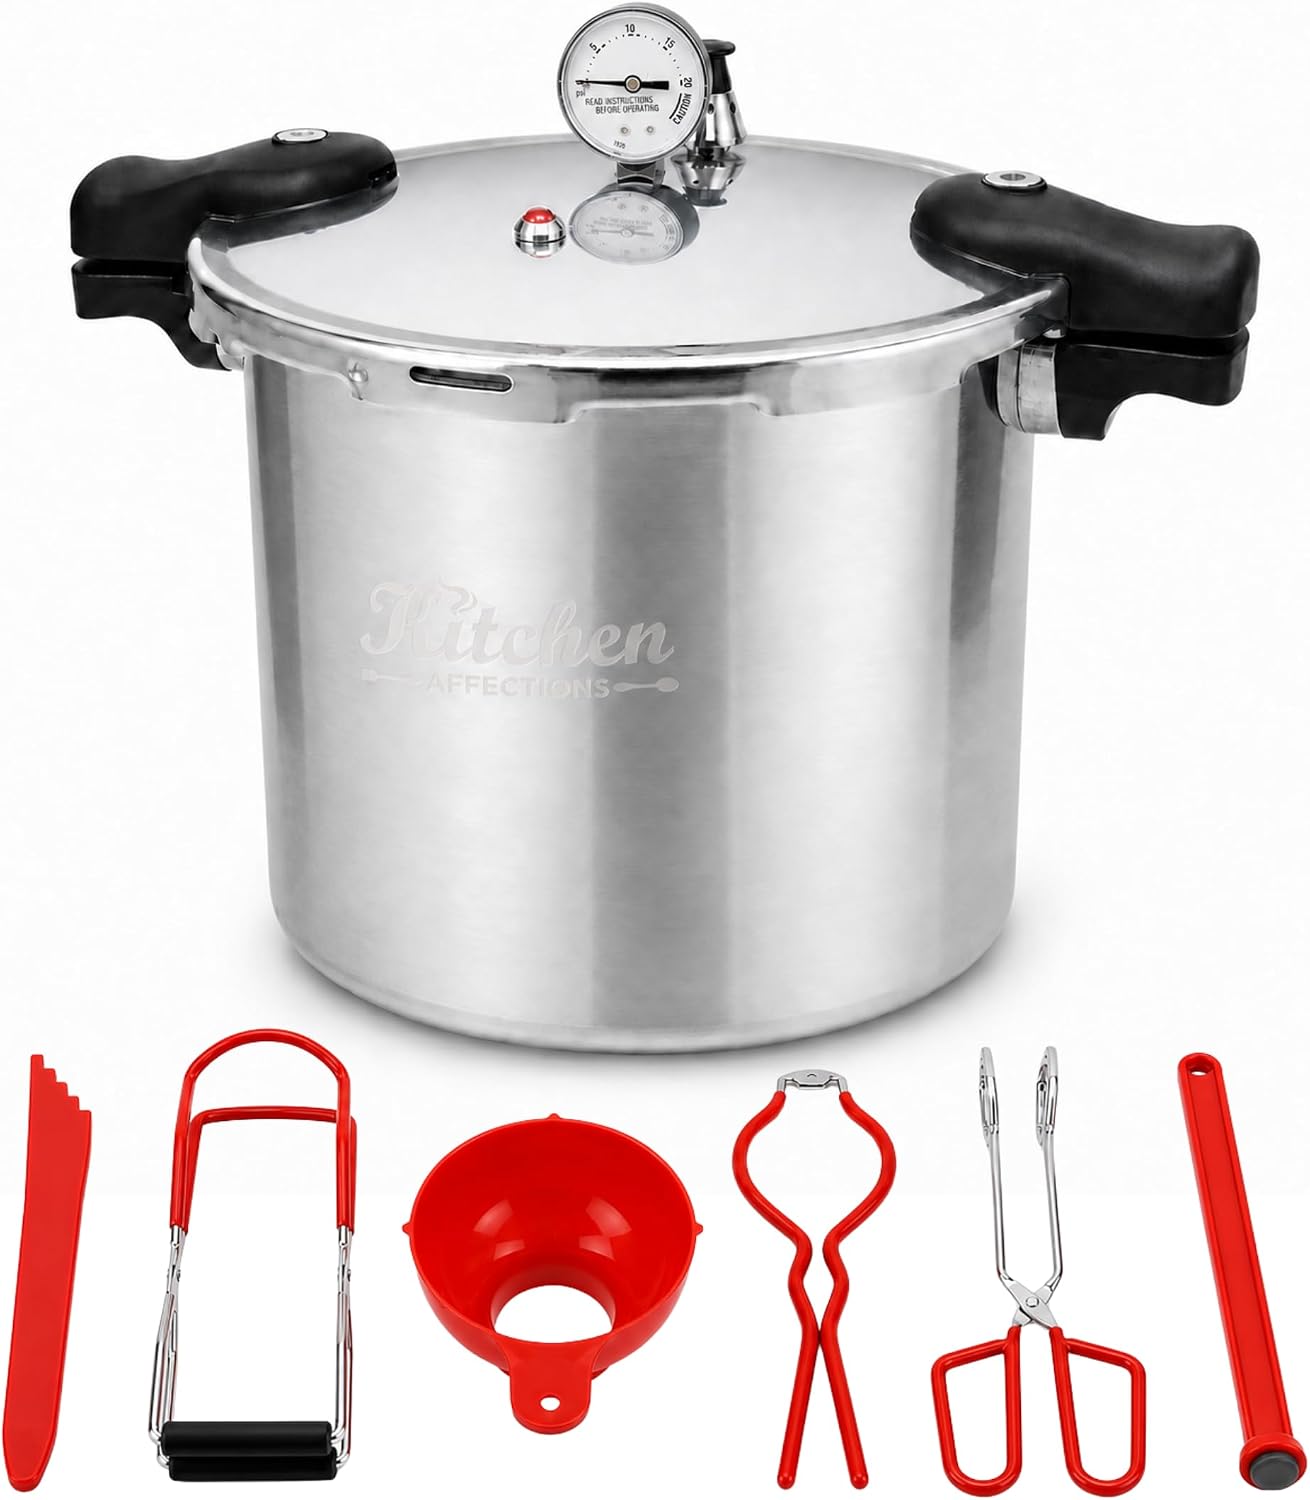
The canner: 24 Quart Pressure Canner Kit with Gauge, 10 & 15 PSI Weights, 2 Racks & 6 Canning Tools, Aluminum Canner for Induction, Gas & Electric Stoves
 Visit on Amazon →
This is the piece that makes the whole workflow possible, and the spec list is the reason I would start here instead of piecing a setup together. The body is a 24-quart aluminum pot, which is the size class most families want once they move past pint jars. Aluminum heats fast and evenly, and the listing puts it on induction, gas, and electric stoves, so an induction range is not a dealbreaker the way it is with some aluminum canners.
The kit gives you the three things a beginner usually buys separately and buys wrong. There is a gauge for reading pressure as it climbs, and there are two weighted options at 10 and 15 PSI, which means the same pot covers low-elevation and high-elevation processing instead of forcing you into a second canner. There are two racks, one for the bottom of the pot and one for stacking when your manual allows it, and six canning tools so you are not hunting for a jar lifter at 10 p.m. with hot jars in the sink.
One thing to verify before you buy: check the manufacturer's jar capacity chart for the jar sizes you actually use. Quart jars are tall, and the gap between "holds pints" and "holds quarts" is the difference between one batch and two on a weeknight. Check current Amazon price. Then check the gauge on arrival. If the needle does not sit at zero on a cold pot, sort that out before you trust a batch to it.
Flaws but not dealbreakers: Aluminum wants hand washing and a dry storage spot, and a weighted gauge requires you to listen and adjust rather than read a number. Both are normal for this class of canner.
Anyone putting up sauce, stock, or beans a few times a season, on a normal home stove, is the right owner for this kit.
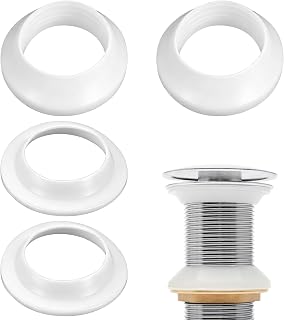
The sink-side fix: Drainage Seal,Universal Basin Drain Gasket Replacement Parts,Thickened Silicone Sealing Ring for Bathroom Sink Drain Stopper,Includes Top and Bottom Washers Seals (White-2 Sets)
 Visit on Amazon →
I am going to be straight with you: this is not a canner part, and I am not going to pretend it is. It is a universal basin drain gasket, a thickened silicone sealing ring with a top washer and a bottom washer, sold as two complete sets. It fits a standard bathroom sink drain stopper assembly.
It belongs in this guide because canning day is the hardest day your plumbing has. You are dumping blanching water, draining jars, rinsing a 24-quart pot, and running the tap for two hours straight. A drain that weeps onto the cabinet floor while you are mid-batch is the kind of small failure that turns a good afternoon bad, and a silicone gasket with washers is the cheap fix that stops it. Silicone also happens to be the same family of material as the seals inside your pressure gear, which is the habit I want you to build: keep spares of the cheap seals so you never lose a tool to a part that costs less than lunch.
Do not buy this for a pressure cooker or a canner. The seals on a pressure vessel are a specific size and rated for that job, and a drain gasket is not. Buy it because the drain under your sink drips. Check current Amazon price.
Flaws but not dealbreakers: Universal means you may need to trim or reseat it to match your drain assembly. Take the old gasket out first and compare before you commit.
Anyone with a dripping bathroom or prep sink, or a canning setup in a basement kitchen, will get more use out of this than they expect.
The pressure canning workflow, step by step
This works on any stovetop canner with a gauge or a weighted regulator. The steps do not change because the pot is new. They change when you skip one.
Step one: Read the recipe before you touch anything. Pick a tested recipe from a source that gives you pressure, jar size, and processing time together, and note the altitude adjustment. Weighted gauges are commonly used at 10 PSI below 1,000 feet and 15 PSI above it, and dial gauges use different targets that shift with elevation. Check your local extension service chart for your elevation and write the number on a sticky note before you start.
Step two: Inspect the canner cold. Lid off, pot empty. Gauge sitting at zero, vent pipe clear, gasket or seal ring not cracked or stiff, overpressure plug intact, both racks in reach. Sixty seconds of inspection is what stands between you and a batch that never comes up to pressure.
Step three: Add water to the manufacturer's level. Follow the manual, not a guess. The water is there to make steam, not to touch the jars, and a canner that boils dry mid-batch can scorch the pot and ruin everything inside it.
Step four: Fill the jars. Use the recipe's headspace, which is one inch for most pressure-canned foods. Run a plastic bubble tool around the inside to release trapped air, wipe the rim clean, center the lid, and tighten the ring finger tight. Finger tight means finger tight. Cranking the ring down is how you get a lid that buckles instead of seals.
Step five: Load the pot. Jars on the rack, upright, not touching each other or the sides of the canner. If you are stacking a second layer, use the second rack and only do it if your manual allows it for that jar size.
Step six: Vent steam for a full 10 minutes. Lid locked, weight off or vent open, burner on high, until a steady visible column of steam has been running for 10 minutes. This purges air from the pot. Trapped air is what makes a canner reach pressure at the wrong temperature, and skipping the vent is the single most common home canning mistake.
Step seven: Bring it up to pressure. Weight on or vent closed. On a weighted canner, adjust the heat until the weight rocks steadily a few times a minute. On a dial canner, watch the needle climb to your target.
Step eight: Start the clock at pressure, not before. The come-up time is not processing time. This is the step where people shave ten minutes off a recipe without realizing it.
Step nine: Hold it steady. Small heat adjustments, then wait for the pot to respond. Big turns of the knob overshoot and undershoot, and the jars pay for it.
Step ten: Kill the heat and walk away. Pressure has to fall to zero on its own. Never quick-release a canner, and never run cold water over the lid. Wait two more minutes after the gauge reads zero, then open the lid tilted away from your face.
Step eleven: Cool, check, and store. Let the jars sit undisturbed for 12 to 24 hours on a towel, out of a draft. Press the center of each lid: it should be down and stay down. Remove the rings, wipe the jars, label with contents and date, and store them without the rings on.
The mistakes that ruin a batch
Pressure cookers are not canners. An electric multi-cooker or a stovetop cooker that is not rated for canning cannot do this job, no matter what the recipe blog says. The pot has to be tall enough to hold jars off the bottom and it has to vent and hold pressure the way a canner does.
Stacking jars without a rack is the second one. Jars that sit on top of other jars crack, and a cracked jar in a full canner means a batch of food with glass in it.
Quick-releasing a canner is the third. Pressure that drops fast pulls liquid out of the jars and leaves you with half-empty quarts and a sticky pot. Let it fall on its own, every time.
Then there is maintenance. A sealing ring or gasket that will not seal means you cannot hold pressure, and a cooker whose gasket you cannot buy separately is disposable. Replace the gasket on schedule, keep a spare on the shelf, and treat the gauge the same way. If it does not return to zero when cold, it is not telling you the truth.
What this all costs
The canner kit is the one real purchase, and it replaces three separate buys: a pot, a pressure gauge setup, and a box of jar tools. Check current Amazon price on that listing. Jars, lids, and rings are the consumables, and they are the line item that grows every season, so buy them in cases when you find them.
The drain gasket is the cheapest thing in this article and the one most likely to save you an afternoon. Check current Amazon price on it too, and keep a spare set in the drawer with the jar lids.
Do the math on cost per jar and it stops being about money. A 24-quart canner that holds pressure for the full time, a recipe you trust, and a sink that does not drip while you work is the difference between canning once out of curiosity and canning every fall for the next decade.
Start with one tested recipe, one altitude number written on a sticky note, and one batch of something you actually eat. The pot does the rest.