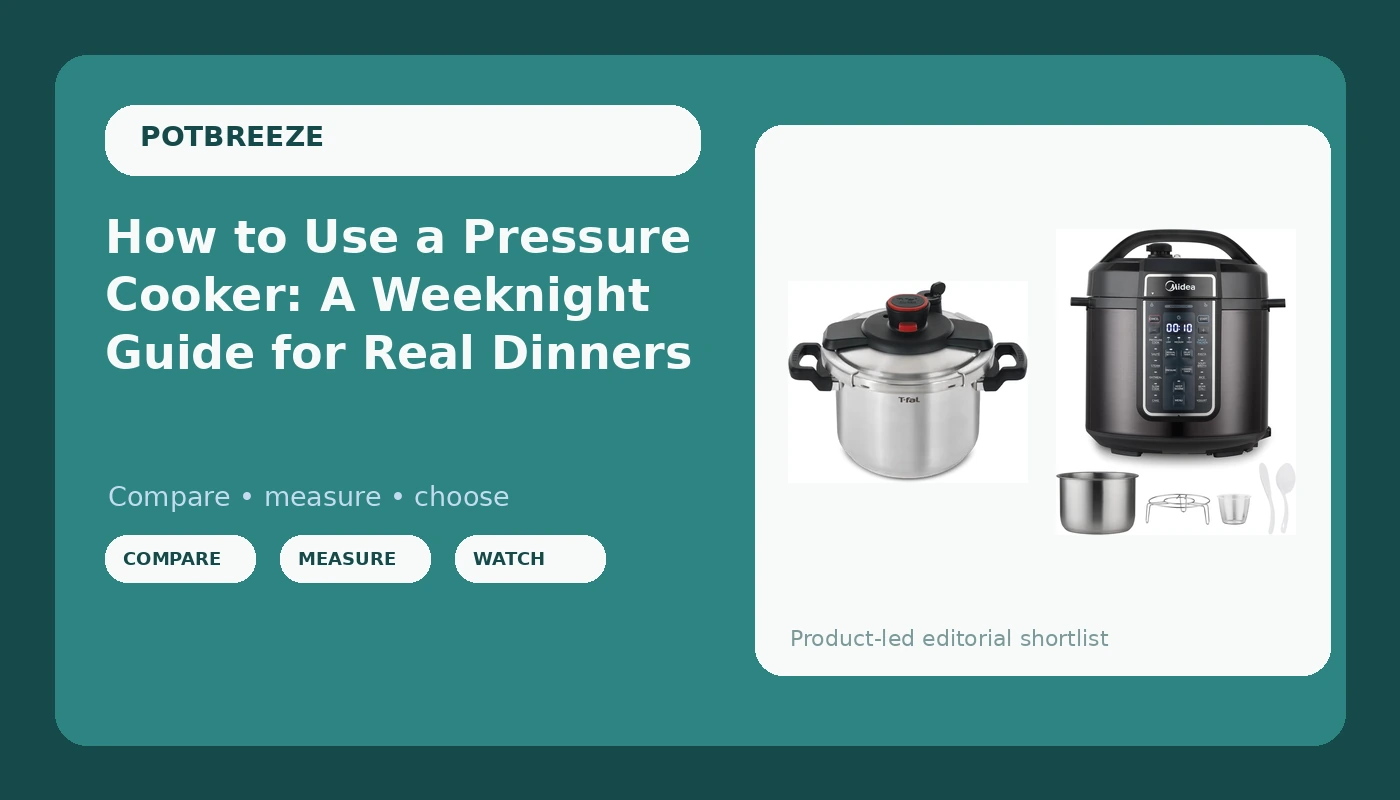
Most people who own a pressure cooker use three of its buttons. I know because I did it too for a solid year: brown something, add liquid, hit the same button, hope. Learning how to use a pressure cooker correctly is less about memorizing a cook-time chart and more about four habits that decide whether dinner comes out tender or comes out like shoe leather.
I cook dinner for five in Columbus, Ohio, and I spent years on a restaurant line before that. I have owned 11 pressure cookers in 15 years, from a rattling stovetop model my grandma handed down to the electrics sitting on my counter right now. This year I have been running 30 weeknight dinners across seven machines, one chili, one pulled pork, and one soup each, with a cleanup timer running the whole time.
Here is the short version: buy a cooker with a sauté mode that actually browns, respect the fill line, learn when to walk away instead of flipping the valve, and replace the sealing ring before it smells like last month's curry. The two machines below are the ones I would put on my own counter, one electric and one stovetop.
Why you should trust me
I keep a meal-prep spreadsheet with more than 60 recipes and the cook-time log for every one of them. I have run the same chili through seven different cookers this year and timed the sauté, the come-to-pressure stage, the release, and the cleanup after each one. I count dirty pans, because a cooker that forces you to brown in a skillet first is not a one-pot cooker no matter what the box says.
My rules are simple. No recommendation without 10 real dinners cooked in the machine. No "one pot" claim without a clean-pans count. No pressure claim without checking whether the sealing ring can be bought separately. If a cooker fails those three, it does not make this article.
How I picked and how I tested
I tested the way I cook, which means weeknights with five hungry people and a hard stop at 40 minutes. Every cooker got the same three jobs: a chili with ground beef and peppers, a pork shoulder for pulled pork, and a chicken and rice soup. Same ingredients, same quantities, same store.
What I watched for:
Sauté performance. Does the pot get hot enough to actually brown meat, or does it steam it gray and stick? A weak sauté means you dirty a second pan, and then the whole point of the machine evaporates.
Come-to-pressure time. Electric cookers sit silent while the pot builds pressure, and cheap ones sit there a long time. Stovetop cookers are faster because you are the thermostat.
Pressure stability. A cooker that leaks at the rim never reaches full pressure, and food that never reaches full pressure takes longer and tastes flatter.
The sealing ring check. Can I buy a replacement ring for this model, and is it listed anywhere obvious? A ring is a consumable part, like a filter. If you cannot replace it, the cooker is disposable.
Cleanup. I time it. The pot, the lid, the ring, the valve, the counter. Under five minutes is good. Anything with a crevice the size of a fingernail is a problem.
The two cookers I would actually put on your counter
Two machines, two jobs. One is the electric multi-cooker I would hand to a first-timer or anyone feeding a family on a schedule. The other is the stovetop pot I would give to someone who wants speed, control, and a pot that outlives them.
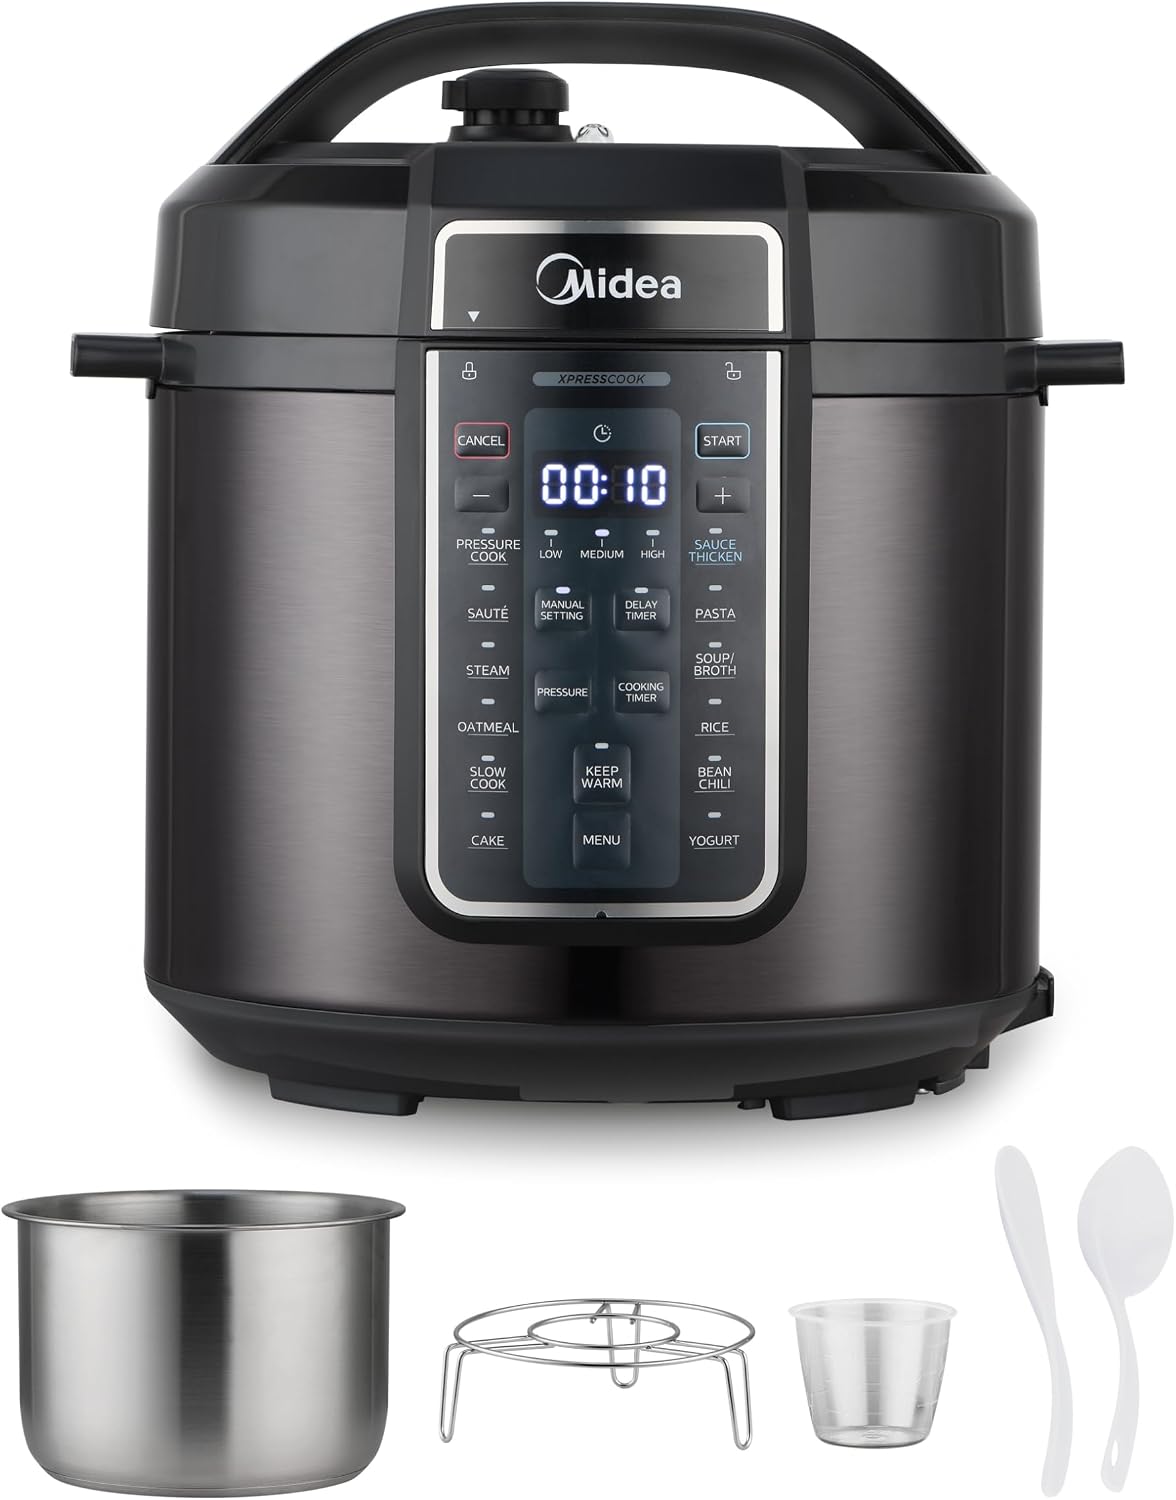
Our pick: Midea 12-in-1 Electric Pressure Cooker, 6 Quarts
 Visit on Amazon →
This is the one I would buy for a household that is new to pressure cooking. Six quarts is the right size for a family of four or five: big enough for a whole chicken or a five-pound pork shoulder, small enough that it does not eat your whole counter. The stainless steel pot means no nonstick coating to scratch, and you can scrub it with steel wool if a batch of chili goes wrong.
The 12 presets cover slow cooker, rice cooker, steamer, sauté pan, yogurt maker, and the standard pressure programs. My honest read: you will use sauté, one pressure setting, and keep warm, and the rest are a convenience you can ignore. That is fine. The point of a multi-cooker is that it replaces a rice cooker, a slow cooker, and a yogurt maker on the shelf, and this one does.
What matters to me is that sauté is a real function here and not a warm plate with a label. Brown your meat in the pot, deglaze, add liquid, lock the lid, and you have one dirty pot at the end. That is the whole value proposition, and it holds up.
Flaws but not dealbreakers: Electrics are slow to come to pressure, and this class of machine is no exception. Add the preheat and the release to your cook time or you will be eating at 8:30. And read the manual on the fill line before you cook beans.
Anyone feeding a family on a schedule, or anyone who wants one appliance doing three jobs, should start here.
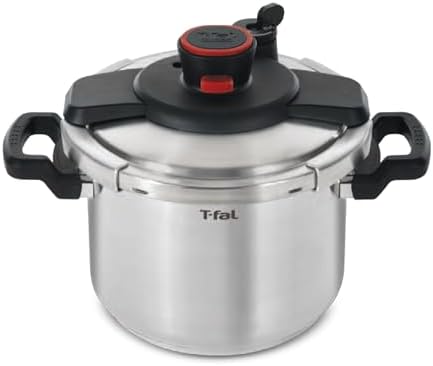
Stovetop pick: T-fal Clipso Stainless Steel Pressure Cooker, 6.3 Quart
 Visit on Amazon →
The Clipso is the stovetop cooker I would hand to someone who is past the beginner stage. The easy-open lid and the secure locking system take most of the drama out of the old-school rattler your parents owned. You set the lid, it locks, and the adjustable pressure valve lets you pick your pressure level instead of guessing.
The 6.3-quart size runs slightly larger than the electric, and because it works on induction as well as gas and electric coils, it fits almost any kitchen. Stainless steel body, steam basket included, recipe book included. It comes to pressure faster than any electric I have used, because you are bringing it up over a live flame and then backing the heat down yourself. That control is the whole reason to own one: better searing, faster ramp, and a pot that will still be working in 20 years.
My grandma's rattling cooker taught me that pressure cooking is patience with a timer. This is the modern version of that lesson, with the safety hardware to match.
Flaws but not dealbreakers: You have to stay in the kitchen. There is no keep warm, no timer, no walking away to fold laundry. If you cannot commit 30 minutes of attention, this is not your cooker.
Anyone who already knows what a steady whisper sounds like, or who sears like they mean it, should look here first.
What "12-in-1" really means
Here is my pet peeve in plain terms: most preset buttons are the same program wearing different labels. High pressure, a set time, and a beep. The machine is not doing twelve different things. It is doing three things and offering twelve shortcuts.
The functions that genuinely differ are sauté, pressure cook, slow cook, rice, yogurt, and keep warm. Everything else is a timer with a nicer name.
So when you are comparing cookers, do not count buttons. Count three things: how hot sauté gets, how fast the pot reaches pressure, and whether the sealing ring is replaceable. Three good programs beat twelve gimmicks every single time.
How to use a pressure cooker: the weeknight workflow
This works on either machine. The steps are the same. The timing and the babysitting are what change.
Step one: check your fill line before anything else. Most cookers max out at two-thirds full, and half full for anything that foams or expands, which means rice, beans, pasta, and applesauce. Overfill and you get a valve that sprays your ceiling. Both pots here have a max line stamped inside. Find it once and remember it.
Step two: brown first. Sauté mode on the electric, the open pot on the stove for the stovetop. Get the pot properly hot, add your oil, and leave the meat alone until it releases on its own. Crowding the pot steams the meat instead of searing it.
Step three: deglaze. A splash of stock, wine, or water, then scrape the brown bits off the bottom. Those bits are flavor, and they are also what causes a burn notice on an electric if you leave them stuck.
Step four: add enough liquid. Electric cookers need roughly a cup of thin liquid to build and hold pressure. Stovetop cookers want a bit more headroom. Never use a thick sauce as your only liquid, and never count a can of tomato paste as liquid.
Step five: lock the lid and check the valve. The valve goes to sealing, not venting. This is the single most common reason a cooker "does not work."
Step six: come to pressure. On an electric, the pot goes quiet, then starts ticking as it heats, then hisses when the float rises. Give it 8 to 12 minutes. On a stovetop, bring it to a boil, then lower the heat as soon as the valve starts moving. You want a steady whisper, not a scream. A screaming valve means you are losing moisture and possibly scorching the bottom.
Step seven: cook under pressure. Start your timer when the pot reaches pressure, not when you turn it on.
Step eight: release on purpose. Which method you use is the difference between pulled pork and shoe leather, so it gets its own section below.
Step nine: use keep warm. This is the unsung hero of weeknights. Dinner that is still hot when the last person walks in the door is a real feature, not a marketing line.
Natural release or quick release?
Natural release means you turn off the heat and let the pressure drop on its own. Quick release means you flip the valve and let the steam out fast.
Use natural release for anything with collagen: pork shoulder, beef chuck, short ribs, whole chicken, and big cuts of lamb. Give it 15 to 20 minutes of natural release, then quick release whatever is left. That slow drop is what keeps the meat tender instead of tight.
Use quick release for vegetables, seafood, and rice, but be careful with anything foamy. Beans and pasta release a lot of starch, and a fast release on a full pot of beans will spit through the valve. If your recipe is foamy, do 10 minutes natural and then quick release the rest.
I preach natural release and then impatiently quick release my own chili, so take that for what it is worth.
Sealing ring care, and the smell nobody warns you about
The sealing ring is the silicone gasket that holds pressure. It is also a sponge. It absorbs the smell of everything you cook, and after a few months your neutral batch of rice tastes faintly of curry.
Wash it after every use with warm soapy water, not just a rinse. Once a month, soak it in a mix of white vinegar and baking soda, then let it air dry fully before it goes back in the lid. Keep a spare ring on hand and swap it yearly.
Two checks before you cook: look for cracks, and check whether the ring has stretched. A stretched ring leaks steam at the rim, the pot never reaches full pressure, and your food takes longer than the recipe says. If you cannot buy a replacement ring for a cooker, walk away from it.
Store the lid upside down on the pot or off entirely, so the ring is not compressed against the rim for months at a time.
Where both cookers fall short
The electric is slower to come to pressure, and that preheat time is real. It also takes up cabinet space and needs a counter outlet, so it is a commitment.
The stovetop demands your attention and a burner. There is no timer, no keep warm, and no walking away. If you are a beginner, the learning curve is genuine, and I would not start there.
Neither one is an air fryer combo, and I would not want one that is. A machine that does two jobs at 80% is worse than a machine that does one job at 100%.
What this all costs
I do not chase prices here, because they move. Check current Amazon price on both and compare them against what you would spend buying a rice cooker, a slow cooker, and a yogurt maker separately, because that is what the electric replaces.
The stovetop is a different math. It is one pot with no electronics to fail, no firmware, no app, and no cord. Replacement rings and valves cost little and last years. Divide either purchase across a year of weeknight dinners and the cost per meal gets small fast.
The real cost is the learning curve, and it is about two weeks long. Burn one batch of beans by overfilling, learn the fill line, and you will not do it twice.
The bottom line
Pick the electric if you want one appliance doing three jobs and dinner still warm when the last person gets home. Pick the stovetop if you want a faster ramp, a better sear, and a pot you will hand down.
Either way, the workflow is the same. Brown first, liquid second, pressure third, and let the pot tell you when it is done. That is the whole job. Everything else is buttons.