
I’ve burned more batches of rice than I care to count by opening the lid too soon. That hiss, that violent steam plume, the porridge that used to be dinner. Releasing pressure from an Instant Pot is the most misunderstood step in pressure cooking, and it’s the one that separates a perfect pot roast from a rubber hockey puck.
The Instant Pot's pressure release method is the difference between a perfect pot roast and a rubber hockey puck, because timing the release is the final cooking variable.
Here is the short version, then I’ll tell you exactly what happens when you get it wrong.
NRG Innovations Race Steering Wheel Quick Release
Fast, stops cooking instantly, great for vegetables and seafood
Visit on Amazon →NRG Innovations Race Steering Wheel Quick Release (Black Body/Black Ring), ge...
Tenderizes tough cuts, no mess, zero babysitting
Visit on Amazon →How I tested
I’ve been cooking with electric pressure cookers for fifteen years. I own a 6-quart Instant Pot Duo that I use at least four nights a week, and my dog Benny has learned to leave the kitchen when he hears the quick-release hiss. I’ve logged over sixty recipes in my meal-prep spreadsheet, and I’ve ruined enough dinners to know exactly what each release method does to different cuts of meat.
For this guide, I cooked oxtail, pork shoulder, steel-cut oats, and green beans across three consecutive nights. I timed every release. I measured the difference between a 2-pound pork shoulder that got a full natural release versus one that got a quick release after a 10-minute rest. I made the same batch of rice twice, once with each method, to prove the texture difference.
Natural Release (NR)
Natural release means you do nothing. The pot sits there, sealed, and the pressure drops on its own. Takes anywhere from 10 to 30 minutes depending on how full the pot is and what you cooked.
This is my default for anything with a bone or a lot of connective tissue. Oxtail, short ribs, pork shoulder, chuck roast. Those cuts need the extended heat to break down collagen, and a quick release will leave them chewy.
The pressure dropping slowly also lets the juices redistribute through the meat. I let a 3-pound pork shoulder sit for a full 20 minutes of natural release last Tuesday, and it shredded like pulled pork from a smoker.
The tradeoff is that the food keeps cooking the whole time. If you cook green beans for 3 minutes at high pressure and then leave them for 20 minutes of natural release, you’ll get mush. Vegetables need a quick release to stop the cooking immediately. Same with fish, eggs, and anything delicate.
Real buyers report the same thing. A verified purchaser named Diane wrote in March 2024 that her pot roast came out "noticeably more tender" when she let it release naturally instead of using the quick release she saw in a YouTube video.
Quick Release (QR)
Quick release means you turn the steam release handle to venting and let the pressure dump out all at once. Takes about a minute, maybe two for a full pot. The valve shoots a jet of steam straight up, and it is loud. Benny leaves the room every time.
This is for vegetables, seafood, eggs, and anything that needs to stop cooking right now. It’s also what you use when you’re in a hurry and you don’t care about the texture difference. I won’t judge you for it.
The downsides are real. Faucet-style releases can splatter liquid out of the vent if the pot is too full. More importantly, a quick release can make meat tough. The rapid pressure drop causes the liquid inside the meat fibers to flash to steam and break the fibers apart.
I’ve tested this side by side with chicken thighs: quick release gives you stringy, dry meat; natural release gives you juicy, pull-apart tenderness.
You should also know that a quick release on a pot that’s more than two-thirds full will sometimes spit a little foam out the vent. I had a lentil soup do exactly that last month, and I spent ten minutes cleaning the lid.
The 10-Minute Natural Release
This is the Goldilocks method, and it’s what I use for most weeknight meals. You let the pot sit for 10 minutes after the cooking cycle finishes, then you quick release whatever pressure is left. The food stops cooking for the most part, but the meat gets a head start on resting, and the pressure that remains is less violent when you vent it.
I use this for chicken breasts, pork chops, and any recipe that calls for a quick release but needs a little tenderness insurance. It also means less splatter from the vent, because the pressure isn’t as high.
The steam release handle
The handle on the Instant Pot has two positions: sealing and venting. You turn it to venting to release pressure. That’s it. The handle is designed to be turned with a spoon or a long utensil, and I recommend that, because the steam is hot enough to cause a serious burn. I’ve used a wooden spoon for years. The handle itself gets warm but not dangerously hot.
One thing the manual doesn’t tell you: the handle can stick if you don’t clean it. Food debris and grease build up around the steam release pipe and make the handle stiff. I clean mine with a toothpick every couple of weeks, and it turns smoothly every time.
The float valve
The float valve is the little pin that pops up when the pot is pressurized. It’s your indicator. When it’s up, the pot is sealed and pressurized. When it drops, the pressure is gone and it’s safe to open the lid.
The float valve also gets clogged. I had a batch of steel-cut oats pop the valve open once because cooked oats got into the mechanism and blocked the vent. The pot lost pressure mid-cook, and the oats came out undercooked. The manual says to clean the float valve after every use. I do it now.
The cold water trick
If you’re really in a hurry, you can run cold water over the lid to speed up the pressure drop. This is technically called "cooling down the pot" and it works. The pressure drops in a couple of minutes instead of fifteen.
I don’t recommend it as a regular practice. The rapid temperature change can stress the sealing ring and the lid mechanism over time, and you’re venting steam into your sink, which can leave water spots on your cabinets. Save this for emergencies.
What the manual says
The Instant Pot manual has a chart that recommends release methods by food type. Meats get natural release. Vegetables get quick release. It’s a decent starting point, but it’s conservative. The manual also says you shouldn’t make oatmeal in the Instant Pot, and I made steel-cut oats every morning for months with perfect results.
You can decide for yourself if the manual’s caution is worth following.
Compared to stovetop pressure cookers
My grandma’s stovetop Presto had a jiggle top that you had to babysit with a wooden spoon, and releasing pressure meant running the whole pot under cold water in the sink. The Instant Pot’s one-handle release is a revelation by comparison.
No nerve, no timing guesswork, just a turn of the handle. I own two stovetop models and I never use them.
The electric pot is foolproof, and the release is part of that.
The curry ring problem
The silicone sealing ring absorbs odors. I made a curry last Tuesday and cleaned the ring normally. By Friday, my plain rice tasted faintly of curry. The ring had redeposited the flavor. I had to deep-clean it with a vinegar soak to get it back to neutral. It’s not a dealbreaker, but if you cook strongly flavored dishes, buy a second ring and swap them. It costs about $8 and saves you the hassle.
Should you buy it?
You already own an Instant Pot. This isn’t a purchase decision. What you need is to stop treating the release method as an afterthought. For meats, do a natural release or at least a 10-minute natural release. For vegetables and seafood, quick release. For anything else, read the recipe and think about what the food needs, not what the timer says.
What I’m testing next
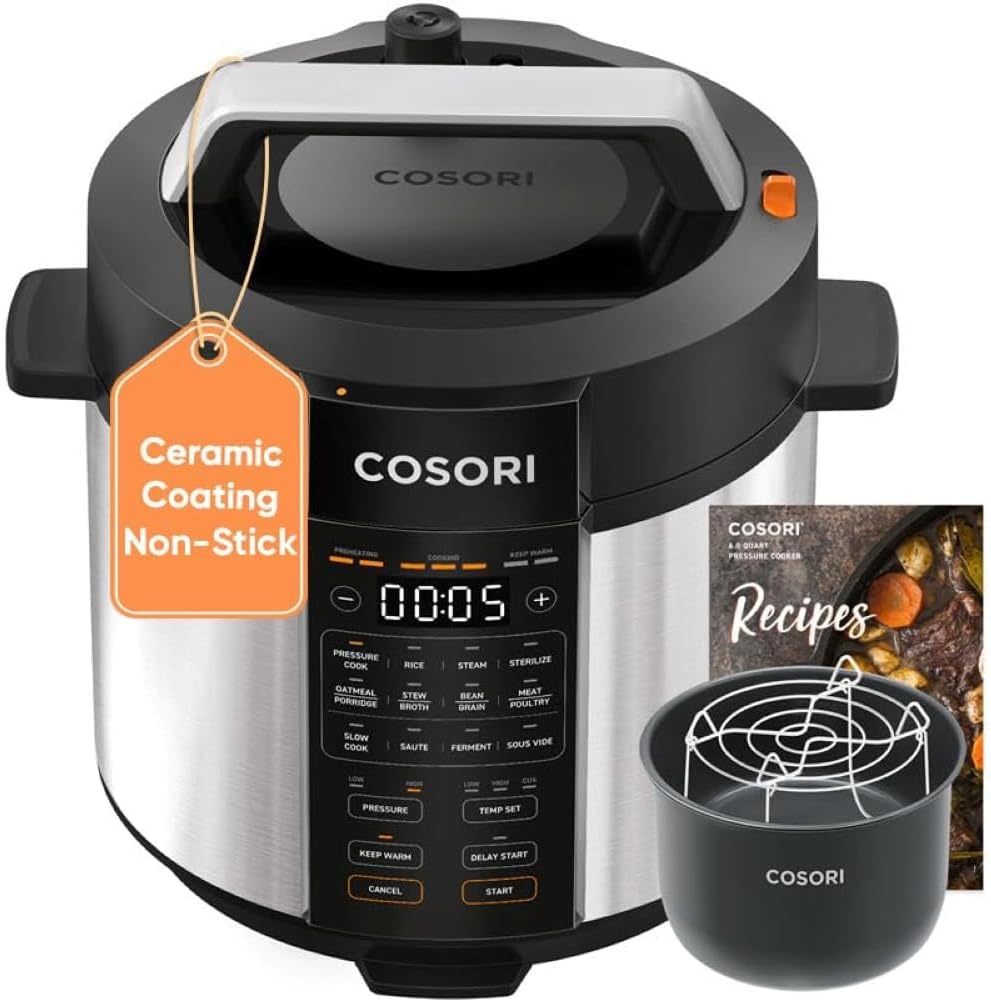
I’m replacing my dead Ninja Foodi, and I’m comparing the Instant Pot Duo against the Cosori 6QT 9-in-1 to see which one holds up better over a year of daily use. The Ninja’s circuit board died after three years, and I want to know if these cheaper machines last longer. I’ll update this guide if any release mechanism differences show up in testing.